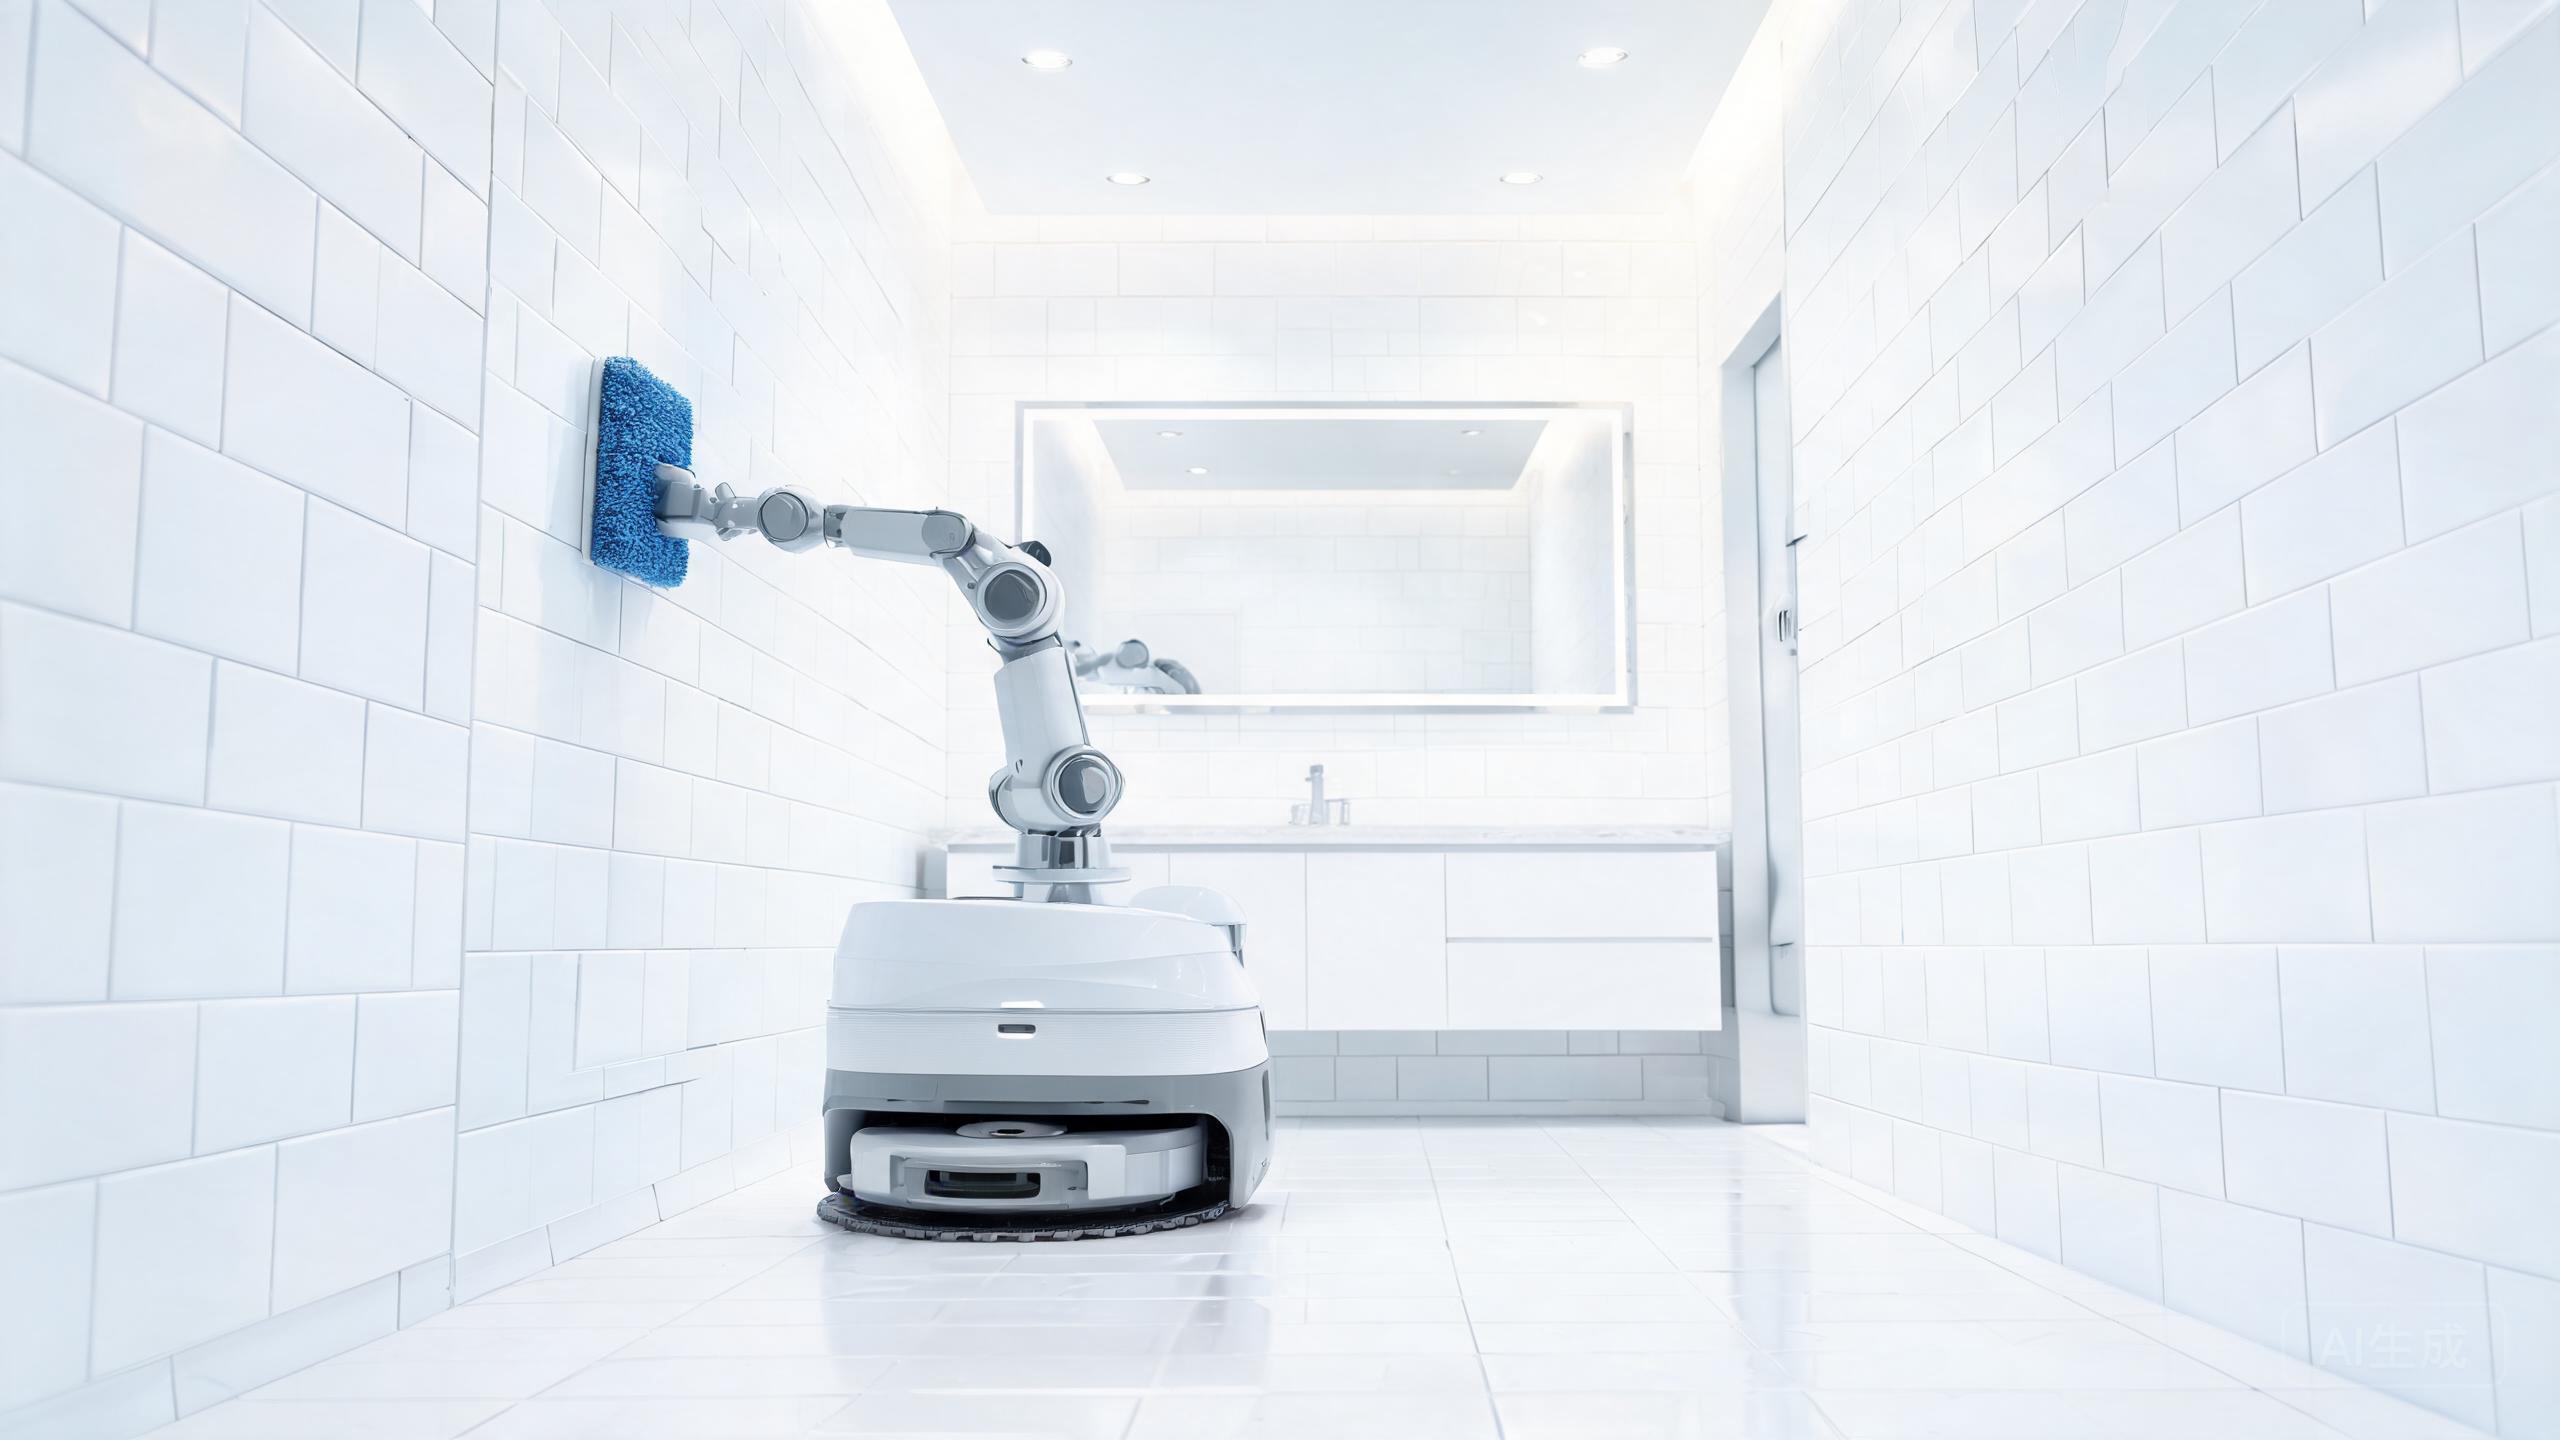
Most Pudu SH1 coverage focuses on what the robot does. This guide covers how to actually get one running. If you have signed off on a restroom cleaning robot 2026 budget and the unit is on its way, the next 48 hours decide whether your autonomous toilet cleaning robot becomes a daily workhorse or a parked asset. Below is the installation sequence we recommend to facility managers, based on the SH1's documented profile: multi-surface vertical cleaning, roughly 80% water savings, and a service-robot lineage from Pudu. No spec is invented here; every step maps to those capabilities.
Step 1: Pre-Installation Site Survey for Vertical Cleaning
Before unboxing, walk every restroom the SH1 will serve and document vertical surfaces: mirrors, partition walls, sink backsplashes, and fixture faces. Because the SH1 is oriented toward vertical surfaces rather than deep floor scrubbing, your survey should flag anything that needs heavy abrasion, since that falls outside its strengths. Note floor drains, thresholds, and tight stall corners that could block a service robot. Confirm at least one power outlet near each restroom entrance for the docking station. Photograph each room and label them; you will reuse these labels during mapping. This one-hour survey prevents most first-week failures.
Step 2: Docking Station Placement and Power-Up
Position the docking station on a level, dry patch within a few meters of the entrance, clear of door swing paths and wet zones. The SH1 belongs to Pudu's service-robot line, so treat the dock like any commercial robot base: stable power, no standing water, and enough clearance for the unit to approach straight on. Plug in, power on, and let the system complete its self-check before touching any settings. If your site runs multiple units, assign each dock a fixed ID and label it physically. This keeps later mapping and scheduling clean and makes restroom robot cost calculations easier, since one dock per zone is the baseline assumption.
Step 3: Mapping Restrooms and Defining Vertical Surfaces
Run the guided mapping routine room by room, starting with the restroom closest to the dock. Drive or follow the unit through each space so it records walls, stalls, and fixture positions. After the base map is saved, open the zone editor and mark the vertical surfaces you surveyed in Step 1: mirrors, partitions, and fixture faces. Set keep-out zones around urinals, floor drains, and any area reserved for deep scrubbing that the SH1 does not cover. Name each zone with the same labels from your survey photos. This is where commercial restroom cleaning automation succeeds or fails: a clean map with honest keep-outs beats an ambitious map that traps the robot.
Step 4: Water Settings, Scheduling, and Staff Handover
The SH1's headline claim is roughly 80% water savings versus manual methods, so start with the default water profile and adjust only after a week of logs. Over-wetting vertical surfaces creates drips and slip risk; under-wetting leaves streaks. Schedule cleaning for low-traffic windows and stagger rooms so the dock is free when each unit returns. Train staff on three things only: how to pause the robot, how to clear a simple obstruction, and how to flag a zone for review. Keep a paper log of interventions for the first month. If you are comparing this unit against others in a bathroom cleaning robot review, remember the robotic arm restroom cleaner category is still narrow, and the SH1's focus on vertical surfaces defines both its value and its limits.
Our verdict
Installing the Pudu SH1 is less about hardware and more about preparation: survey vertical surfaces first, place the dock deliberately, map with honest keep-outs, and tune water only after real data. Do that, and your restroom cleaning robot 2026 rollout becomes routine within two weeks. Skip it, and even a trusted robotics brand cannot compensate for a bad map. Treat setup as a facility project, not an unboxing, and the 80% water-saving promise has a chance to show up in your utility log rather than a brochure.